A Discovery in the Compost Tumbler:
The other day, while adding kitchen scraps to our small, hexagonal black compost tumbler, I noticed something unusual. Amidst the organic matter was a hard, dark object, somewhat round, with two robust roots. Thinking it was an avocado pit, I brought it inside for a closer examination.
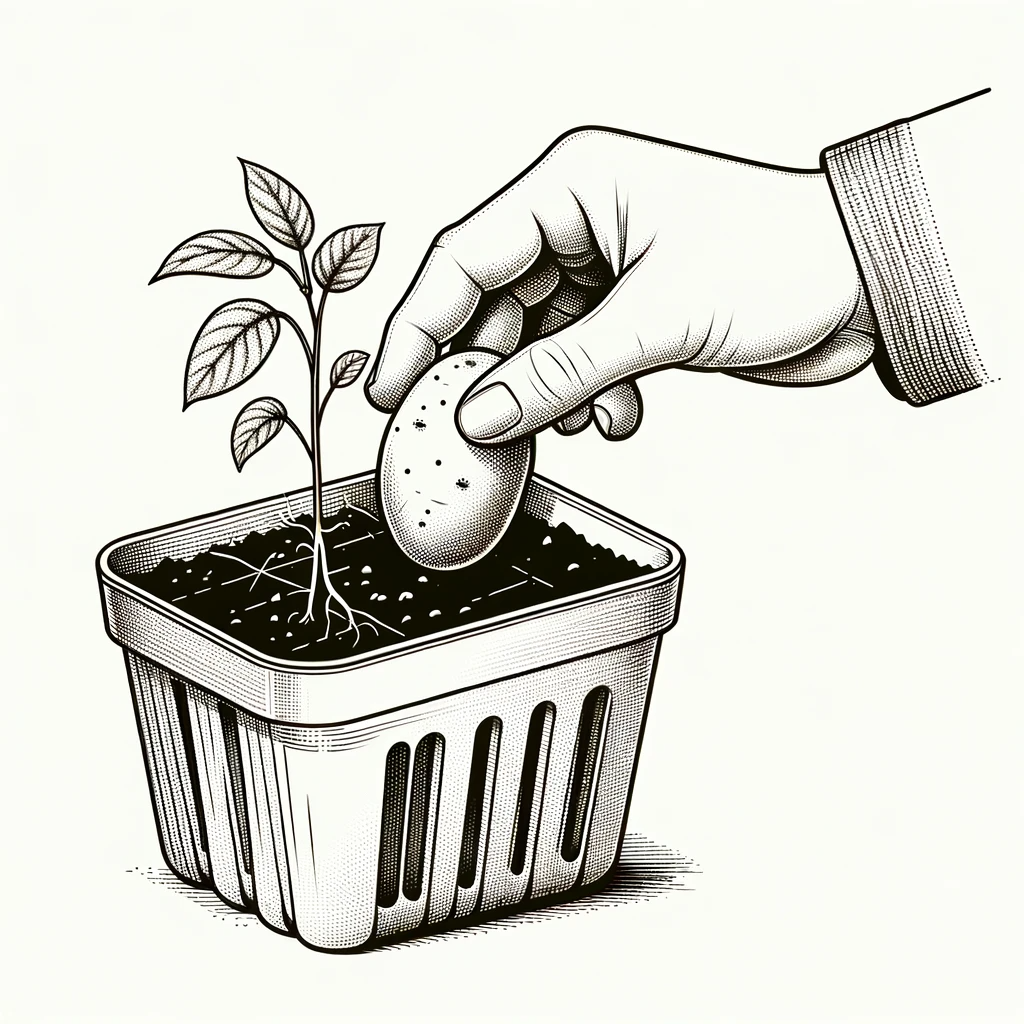
My curiosity piqued when, just two days after potting this mysterious find, it sprouted leaves, reaching eagerly for the sunlight. That’s when it hit me – it was a potato! This unexpected discovery in our garden, typically devoted to fruiting trees and seasonal vegetables, marked the start of an intriguing potato-growing journey.
Curiosity and Gardening Passion Ignited:
As a gardening enthusiast, I found this experience thrilling. The quick transformation from a composted scrap to a sprouting plant ignited my curiosity. Researching potato cultivation became an exhilarating new project. With the rapid growth of this little potato, I eagerly anticipate seeing how it will fare in our garden’s nurturing environment.
Why Grow Your Own Potatoes?
Potatoes are more than just a staple food; they are a nutritional powerhouse. A medium-sized potato, for instance, is rich in Vitamin C, covering about 35% of daily needs. This is crucial for immune health and acts as a potent antioxidant.
Potatoes are also an excellent source of potassium, aiding heart and muscle function. They offer a good dose of fiber, promoting digestive health and satiety. Furthermore, their high antioxidant activity helps neutralize harmful free radicals. By growing your own potatoes, you enjoy these benefits fresh from the soil, with the added satisfaction of nurturing a health-boosting staple in your backyard.

Step-by-Step Guide to Growing Potatoes
Step 1: Choose the Right Potatoes:
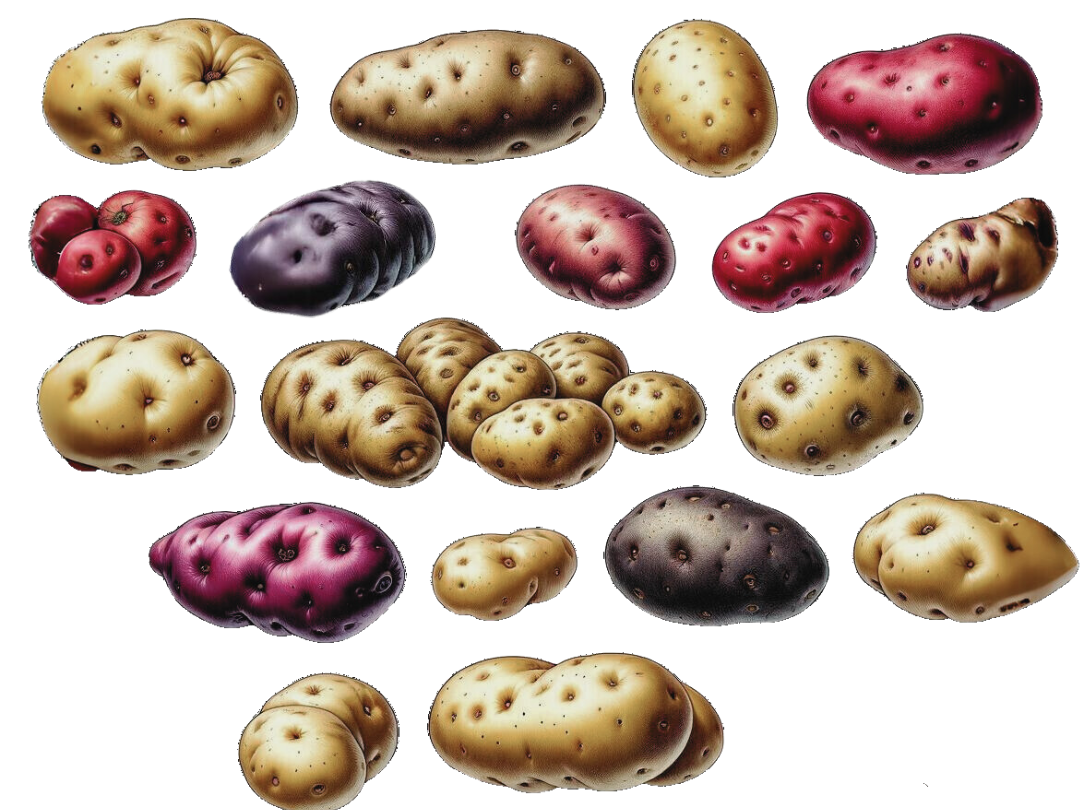
Select high-quality, disease-free seed potatoes for the best chance of a bountiful harvest. If, while preparing a potato dish, you notice a potato beginning to sprout, set it aside! These sprouting potatoes can be planted, and since they’re varieties you already enjoy eating, they make a perfect choice for your garden. However, be aware that some store-bought potatoes are treated with sprout inhibitors and may not be as disease-resistant as seed potatoes.
Step 2: Sprout Your Seed Potatoes (Chitting)
About 6-8 weeks before your planned planting date, begin chitting your seed potatoes. Place them in a well-lit area at room temperature to encourage sprouting. This process of pre-sprouting, known as chitting, involves keeping the potatoes in a bright spot until sturdy, green sprouts have developed. Chitting gives your potatoes a head start, leading to earlier and possibly more bountiful harvests, especially in regions with shorter growing seasons.
Step 3: Choose the Right Spot to Grow:
Select a location that receives several hours of sunlight daily. Potatoes prefer cooler weather but require full sun. They are versatile and can be grown in the ground, raised beds, or large containers. Ensure the chosen spot has good drainage to avoid waterlogged soil.
Step 4: Prepare the Soil:
Aim for loose, slightly acidic soil with a pH between 5.0 and 7.0. Enhance the soil by incorporating aged manure, mature compost, or high-potash fertilizer. This helps create the ideal environment for potato growth, providing necessary nutrients and improving soil structure.

Step 5: Plant the Potatoes:
When the sprouts are ready, dig trenches about 4 inches deep, spacing the rows approximately 3 feet apart. Place the sprouted potatoes in the trenches, ensuring they have enough space for growth. Cover them lightly with soil, avoiding deep burial at this initial stage.
If planting in a container, start by selecting a container that is at least five gallons and has drainage holes. Fill it with a mixture of loose, rich soil, perlite, and organic matter. Place the sprouted potatoes on top of the soil, about four or five inches apart. Cover them with more soil until the container is full. Position the container in a sunny spot that gets at least 10 hours of sun a day. Remember to water the soil when it feels dry two inches below the surface, but avoid overwatering to prevent rot.
Step 6: Care for the Plants:
Water the soil regularly to keep it consistently moist but not soggy. As the plants grow, hill up soil around them to protect the developing tubers from sunlight and pests. The hilling process is important as it ensures proper coverage and insulation for the potatoes. Expect to harvest your potatoes within 60-130 days, depending on the variety, observing the plants for signs they are ready to be harvested.
Helpful Tips for Potato Growing Success
Variety and Timing:
Experiment with early and late-season varieties. Plant your potatoes after the last frost has passed and the soil has warmed up.
Spacing:
Ensure proper spacing to prevent overcrowding and to reduce disease risk.
Soil Fertility:
Enhance the soil with organic matter like comfrey leaves and seaweed when planting.
Mulching:
Use organic mulch to encourage tuber formation and protect against pests.
Watering Techniques:
Use drip irrigation in dry areas and avoid wetting the leaves to reduce disease risk.
Companion Planting:
Grow horseradish, garlic, onions, and legumes near potatoes to repel pests and improve soil nitrogen.
Potting as a Precaution:
If using sprouted potatoes from the grocery store, consider planting them in pots to mitigate the risk of diseases like blight spreading to other plants.
Pest Management:
Regularly inspect for pests such as Colorado potato beetles and remove them manually.
Harvesting Cues:
For early varieties, harvest when tubers are about the size of hen’s eggs. Wait for the foliage to turn yellow for maincrop potatoes.
I’m excited to embark on this potato-growing journey alongside you. I’ll provide updates on our little sprouting friend as it progresses towards a full harvest, sharing both triumphs and learning experiences, but I’m eager to hear about your own potato-growing adventures as well! Please share your stories, questions, or any tips you have in the comments. Let’s create a space for mutual learning and encouragement in our gardening endeavors.
Here’s to a season of successful growth and bountiful harvests!

